wiring a new plug end
L Live Brown N Neutral Blue E Earth Yellow Green. Turn off the power at the main panel.

Pin On Don T Do It Yourself
In this video well show you how to wire a removable grounded plug ends both the black and white.

. First the cable is nicked through the sheath at the end. The plug has markings inside to identify each pin. Very handy and easy to use.
Drilling holes in the stud beside which the hole has been cut and to which the receptacle box will be mounted through which the 240 volt plug wiring will be run to the breaker box. Pull the sheath apart a little and you will see the bare earth wire in the centre. Knowing how to wire a plug is a good skill to have especially as UK plug wiring is so important.
The danger isnt fire. The first this to do is attach the bare wire to the back of the electrical box wrap around one of the screws but leave enough of a tail to attach the the green or blackish screw at the bottom of the plug. Remove the 3-Wire Dryer Cord and install the replacement 4-Wire Dryer Cord.
Thread the cable through the wire grip and then thread each individual wire to the correct terminal. Then cut a new length of the same-gauge cable to run between the new outlet and the old and feed it to the boxes leaving about 8 in. Feed a length of new cable through one of the knock-out holes at the back.
Install the box for the new outlet remove the incoming wires from the old box and run them into the new one. Tutorial for Wiring Your Grounded Extension Cord Ends Remove the screw screw from the top of the plug with a screwdriver and pull on the prongs to release the plug from its. Following the groove down the center of the cord split the wires apart with your fingers or a utility knife.
Attaching wiring to the receptacle and mounting it in the box. Once youve cut the old plug off the cord and stripped about 2 inches of sheathing from the cord separate the wires and strip 12 inch of insulation from the end of each one. Project step-by-step 5 Shut Off the Electrical Outlet.
The easiest way to do this is to use wire strippers. Take off roughly 3 centimeter 12 in of white covering leaving you with three thinner cables. Installing the outlet box and pulling wiring usually up to and through the attic to the breaker box.
Undo the Philips screw in the center of the plug on the side with the three pins poking out. At some point in life with all the electrical appliances we have you may need to know how to wire a plug. Find the correct breaker and turn it off.
Loosen the set screw on the barrel cord grip and look inside to make. These plug ends have a 2 part construction the housing a. Pull the two sides apart to make a Y shape so you have one.
Undo the screws that hold together the replacement plug then slide the plugs cover up and over the cord. Fasten the individual wires to the proper terminals on the plugs block -- mount the black wire to the brass terminal attach the white wire to the silver terminal and fasten the green wire to the green grounding screw. Some plugs have two parts with one piece containing the wiring connections and prongs and another piece that is an outer shell or body.
Tightly twist the ends of the wires. Separate the plug by pulling it apart or removing the screws holding it together and feed the cord through the base. Feed New Cable into the Wall.
The cable needs to be secured to the studs typically with wire. Simply insert the end of the tester into an outlet lamp socket or hold the end of the tester against the wire you wish to test. Tighten the terminal screws and the cord grip screw.
Of new cable in each box. Slide the stripped ends of the black white and green wires under the brass silver and green terminals or into the holes associated with. Wire a plug to maintain correct polarity.
This ensures that the plug and the box are now grounded. Step 2 - Attaching wire to the electrical receptacle. The key is to make sure you connect the wires to the proper terminals in the plug.
Wiring a new plug isnt difficult but its important to get the hot and neutral wires connected to the proper prongs. Run 2-wire cable from the existing receptacle to the new outlet location. This will expose four leads.
Then there are two options. For example if you cut the cable in your hair dryer you can then cut the cable back past the cut and rewire the plug back on to the cable thats far cheaper than. Clamp the wire with the side cutters gently and holding the end of the cable in your other hand pull the wire through the insulation.
Alternatively you can use normal side cutters but you need to be careful not to cut into the individual strands of wire. In this diagram each receptacle is wired to the next using the terminals to pass the voltage along so each has 4 wires not including. The Quickest Way to Check for Faulty Electrical Wiring.
Take a standard 4-wire generator cord and remove its socket. Get this nick in the middle. The worry is that a miswired plug poses a fairly serious shock hazard.
Dont over tighten as you may strip the screw thread but it needs to be tight enough that by. Remove about 5mm of insulation from the end of each wire. To add a new outlet to a group of receptacles already in place splice the new wires to one set of wires on one of the existing outlets.
Slide the new plug over the cut end of the cord and out of the way for now. Cut off any damaged portion at the end of the cord. Next where the wires are connected to the electric dryer you will need to remove the Bonding Jumper which goes between the frame Grounded Screw and the Neutral Terminal as shown in the 3-WIRE HOOK UP wiring diagram below.
Loosen the brass silver and green terminal screws too. Alternatively if you have a 3-prong drier cord you can tie its loose ends to L1 L2 and N of the. If the insulation of any of the conductors has been damaged or the conductors are exposed or cut and its within a few feet of one end then you can cut off the damaged cord and put on a new cord end either a male cord cap plug or a female cord end connector body whichever the case may be.
Strip the end of the thick cable coming from the appliance into the plug using wire strippers. For a terminal screw plug. If you have a loose mating 3-prong plug NEMA 10-30P attach its X and Y terminals to two line wires and attach W to the neutral refer to L14-30 pinout above.
The Plug-In Outlet Tester. Cut off the old plug from the cord using wire cutters.

Wiring A Plug Replacing A Plug And Rewiring Electronics Wiring A Plug Electrical Wiring Home Electrical Wiring
Install Extension Cord Plug Mother Daughter Projects Plugs Extension Cord Mother Daughter Projects

Parkworld 5 Ft 12 3 3 Wire 20 Amp 277 Volt 3 Prong Plug Nema 7 30p To Roj Replacement Power Cord In 2022 Plugs Wire Prong

Electrical Wiring Diagram Home Electrical Wiring Electrical Wiring Electricity

Pin On Electrical

Replacing Two Prong Receptacles Home Electrical Wiring Old Houses House Wiring

A Typical Mains Power Plug Electrical Wiring Colours Electrical Wiring Diagram Light Switch Wiring

Diy Extension Cord Organizer Garage Extension Cord Wiring A Plug Cord Organization

Pin On Wiring

Pin On Diy Projects

Pin By Morgan Bauer On Home Electrical Cord Electricity Electrical Wiring

How To Wire A 7 Way Trailer Plug Trailer Wiring Diagram Trailer Plans Trailer

Wiring Outlets And Lights On Same Circuit Google Search Home Electrical Wiring Electrical Wiring Wiring Outlets

Plug Wiring Diagram Wire Diy Plugs Extension Cord

Don T Have A Plug At The End Of Your Wire No Worries Just Shove The Wires Into The Socket It Will Work Just Electrical Safety Safety Fail Electrician Humor

Parkworld 8 Ft 6 3 Plus 8 1 4 Wire 55 Amp 125 250 Volt Rv Generator 4 Prong Plug Nema 14 60p To Roj Replacement Power Cord 68383 The Home Depot In 2021 Power Cord Prong Plugs

Wiring A Plug With 3 Wires Wiring A Plug Plugs Live Wire

Understanding 240v Ac Power For Heavy Duty Power Tools Make Outlet Wiring Ac Plug Trailer Wiring Diagram
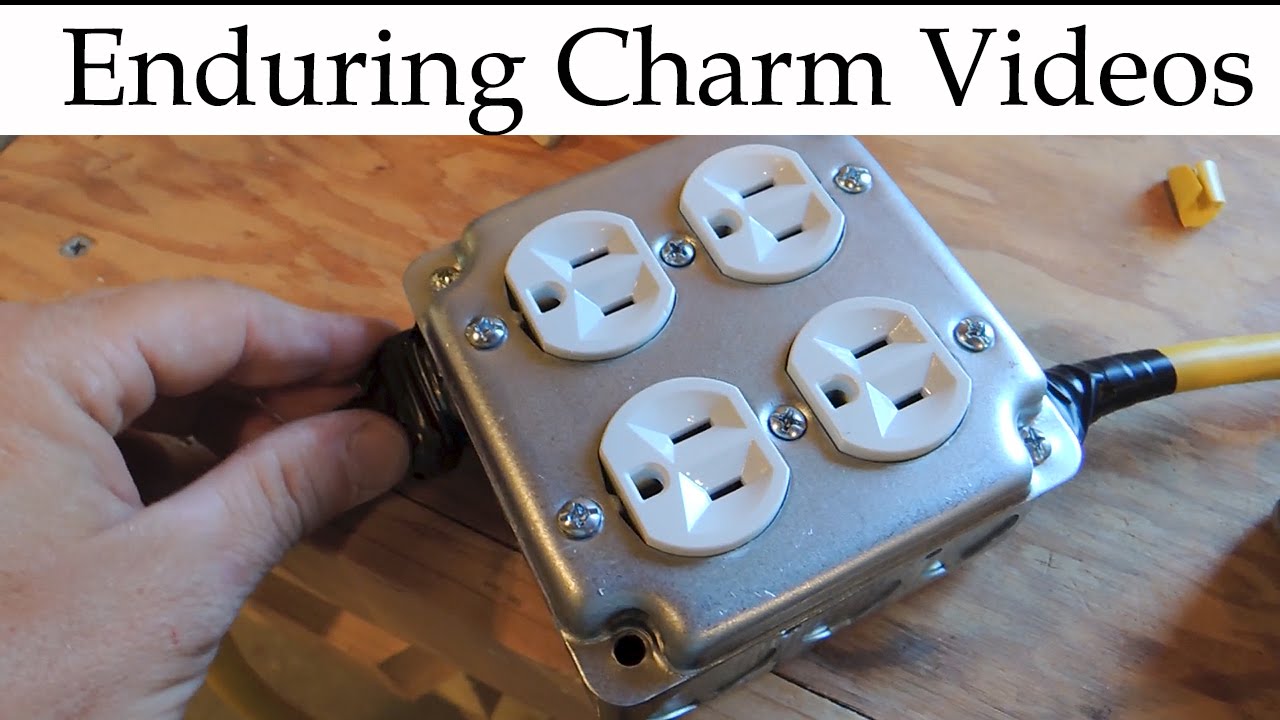
Make A Quad Box Extension Cord Youtube Extension Cord Cord Box Home Electrical Wiring